Step one
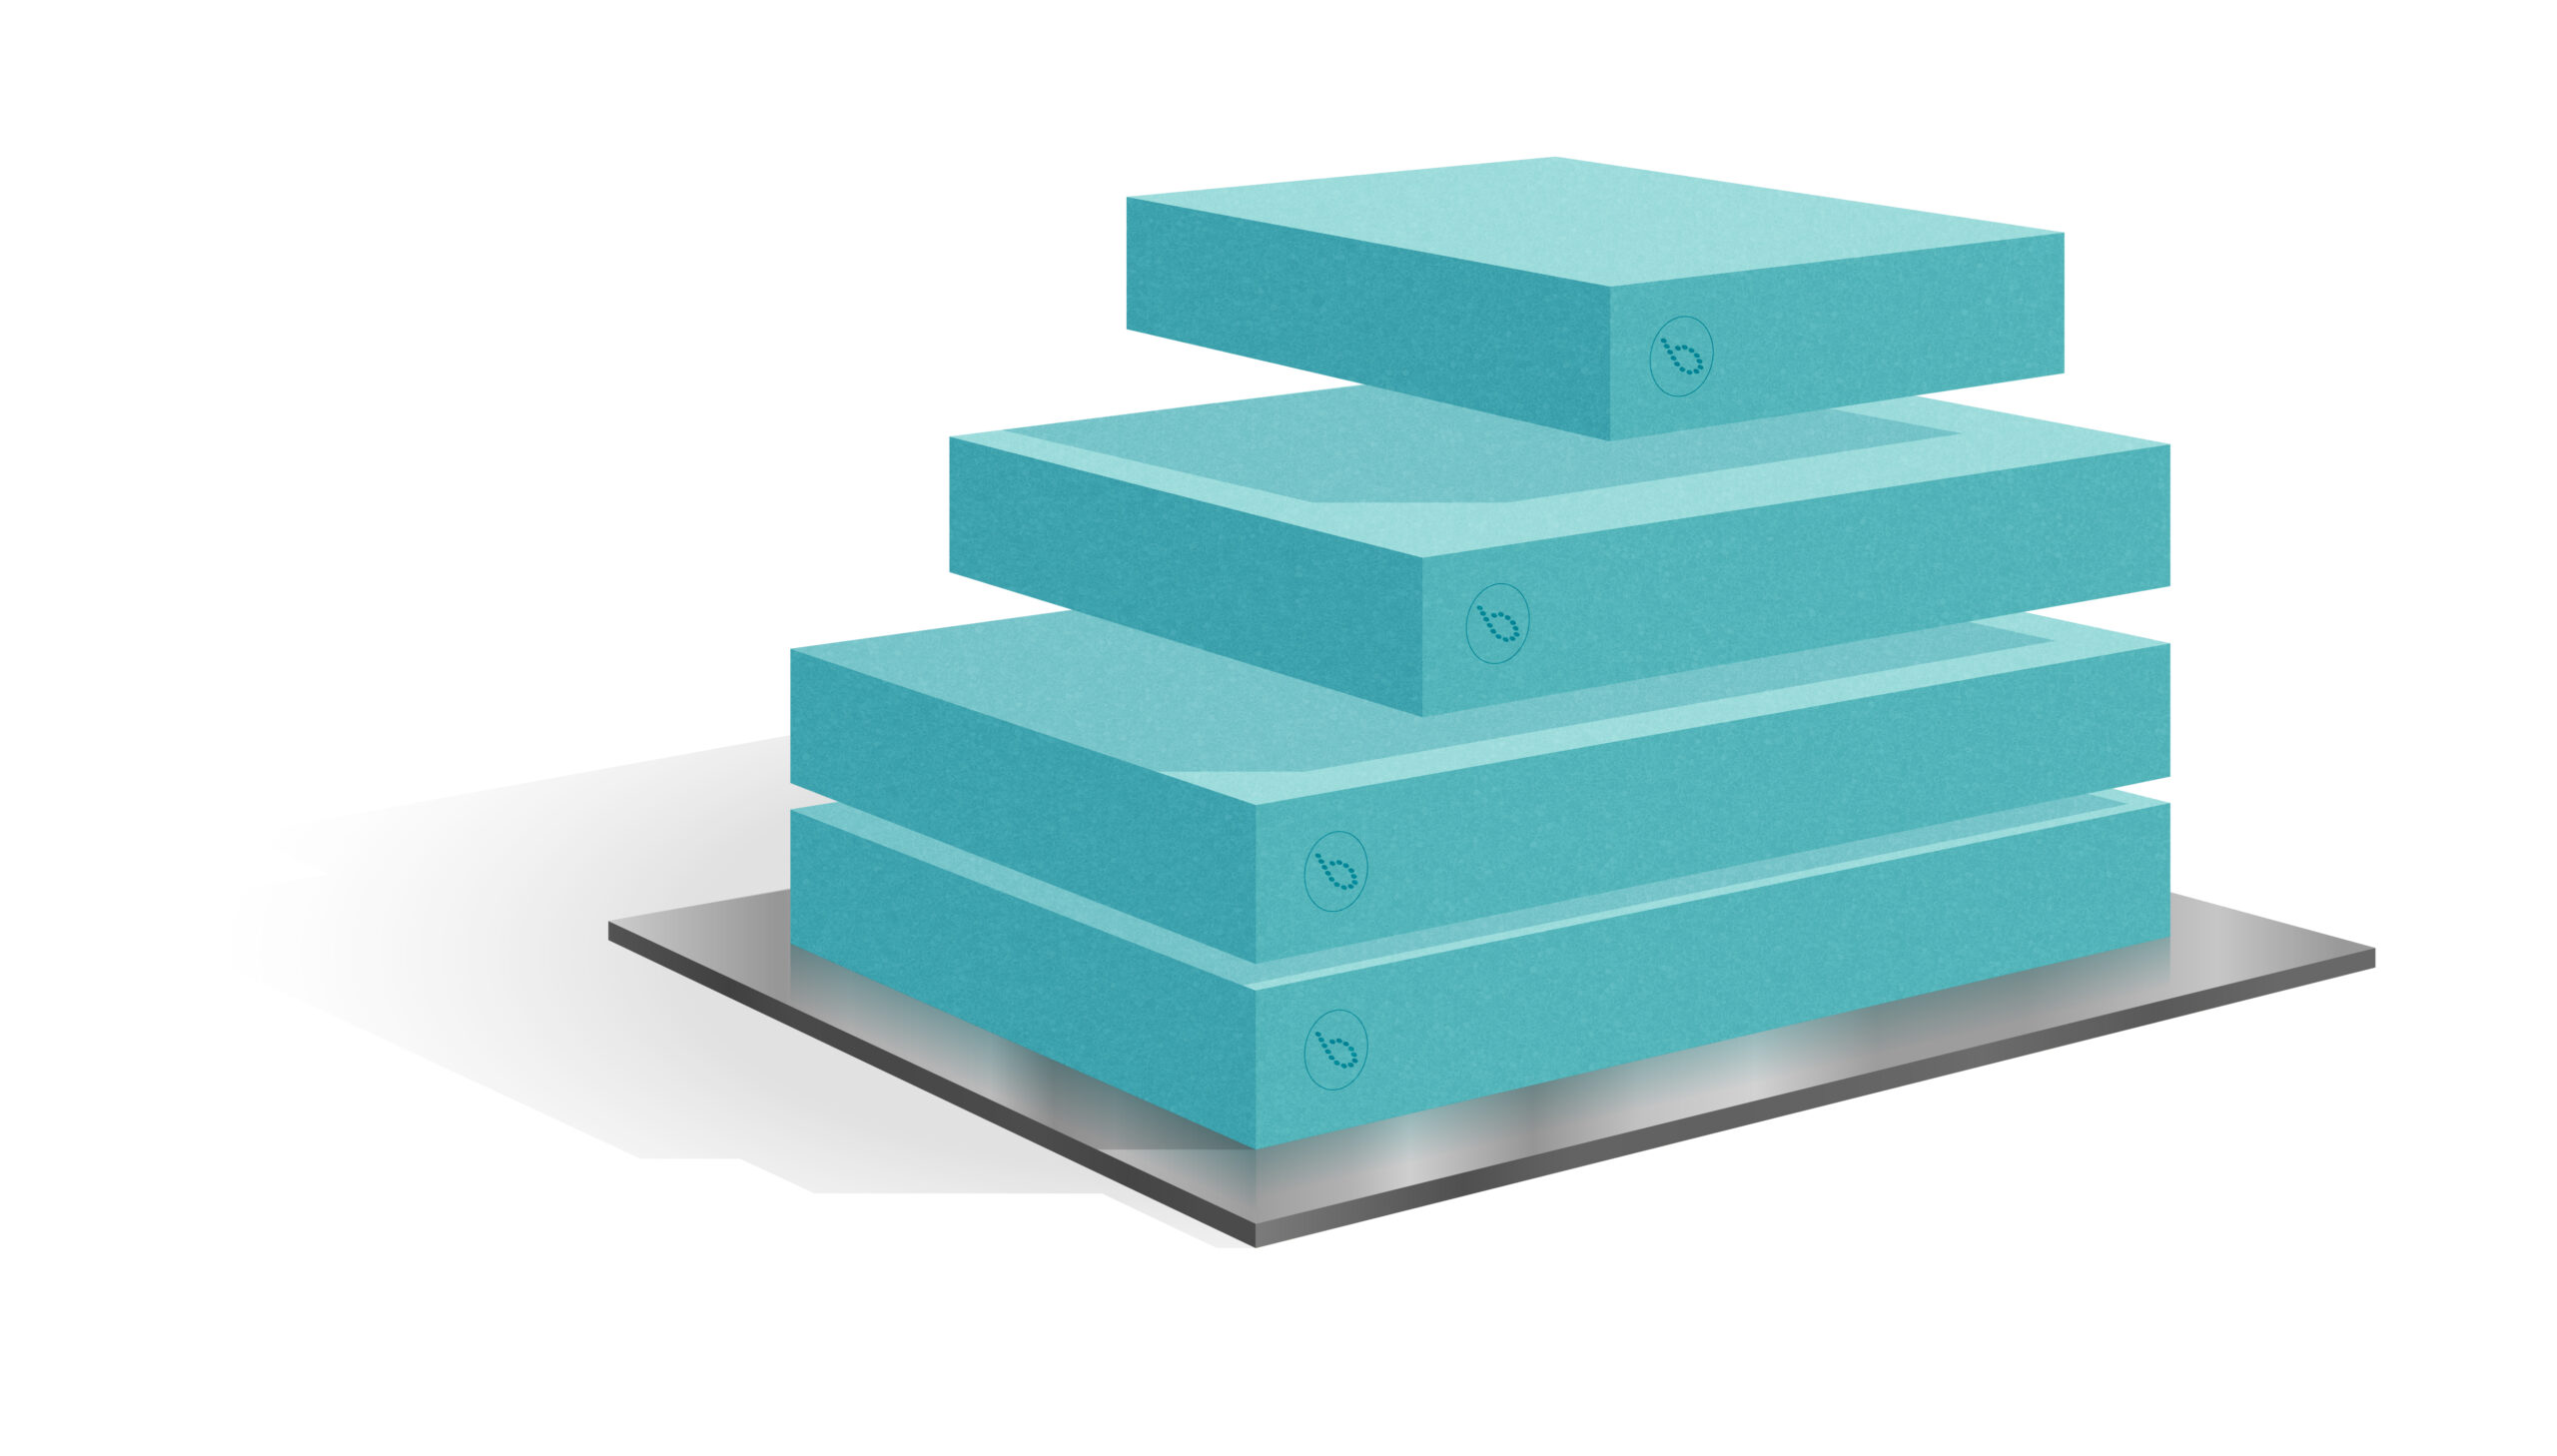
Cut, prepare and dry assemble tooling boards to the required block-up formation.
FIND THE RIGHT PRODUCT FOR YOUR APPLICATION WITH OUR INTERACTIVE SELECTOR TOOL
Step two
Key both surfaces of the joint using a rough grit sandpaper.
Step three
Once the entire bonding surface has been prepared, use a suitable solvent such as acetone to remove any contaminants from the surfaces to be bonded.
Repeat this operation until satisfied the surface is clean.
Step four
Allow any residual solvent to evaporate.
Step five
Mix the adhesive using the mix ratio stated on the technical datasheet to
ensure a fully homogeneous adhesive mix. Using an incorrect mix ratio can
cause the adhesive to fail.
Step six
Apply the adhesive evenly across one surface of the joint using a serrated spreader.
You do not need to apply our adhesive to both surfaces.
Step seven
Bring together the two bonding surfaces and apply an even amount of pressure until the adhesive extrudes from the joint.
Remove this excess and check the joint for uniform thickness.
step eight
Boards can be held in position by light clamping, placing a weighted object over the entire top surface of the stack or by vacuum bagging, to ensure equal pressure throughout the board, integral bond lines and uniform thickness.
Over-clamping will cause the adhesive to spread unevenly, which may result in stress build-up in the board and lead to stress microcracking and/or warping.
step 9
A post-cure is recommended to achieve the adhesive's maximum thermal characteristics.
It is important to ensure that the relevant ramp, dwell, and cool-down conditions are suitable for the tooling board.
a. When bonding and post-curing tooling boards, it is important to consider the dimension of the pattern as this will affect ramp-up, dwell, and cool-down periods. We suggest that ramp-up and cool-down should be no
more than + 5 oc (+ 9 oF) / hour. When post-curing, we would recommend a temperature of + 50 to 60 oc
.
b. The tooling board should be adequately supported to avoid any excessive gravity-induced stresses. For large patterns, we recommended that a suitable support frame be used to minimise deflections and ease handling.
additional considerations
Always allow adequate time for the adhesive to cure before further machining or processing.
Always use an adhesive that meets the mechanical properties of the board.
Precautions should be taken when post-curing to ensure that the temperature is ramped up and down slowly to avoid extremes in temperature. This will prevent thermal shock from occurring to the board and the adhesive, which will result in a poor bond and stress cracking in the board.
Always use a recommended adhesive for attaching the tooling board to a backup or framing structure.
When making mechanical attachments to a higher-temperature tooling board, use caution, as variations in coefficients of thermal expansion (CTE) can cause warping or micro-cracking when subjected to heat.
Variations in the CTE of tooling boards, adhesives and backup or framing materials can introduce stress into composite structures when they are heated or cooled.
For further guidance or specific questions regarding your project, please speak to a member of the team.
