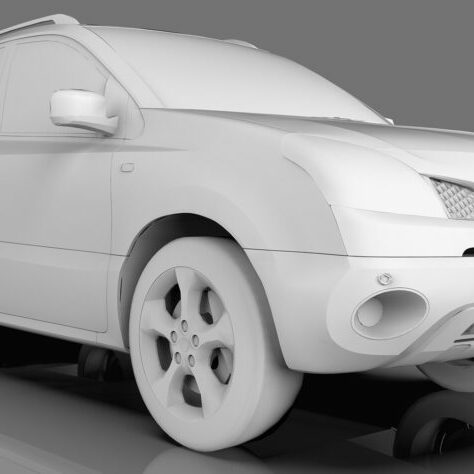
Step one - tooling board
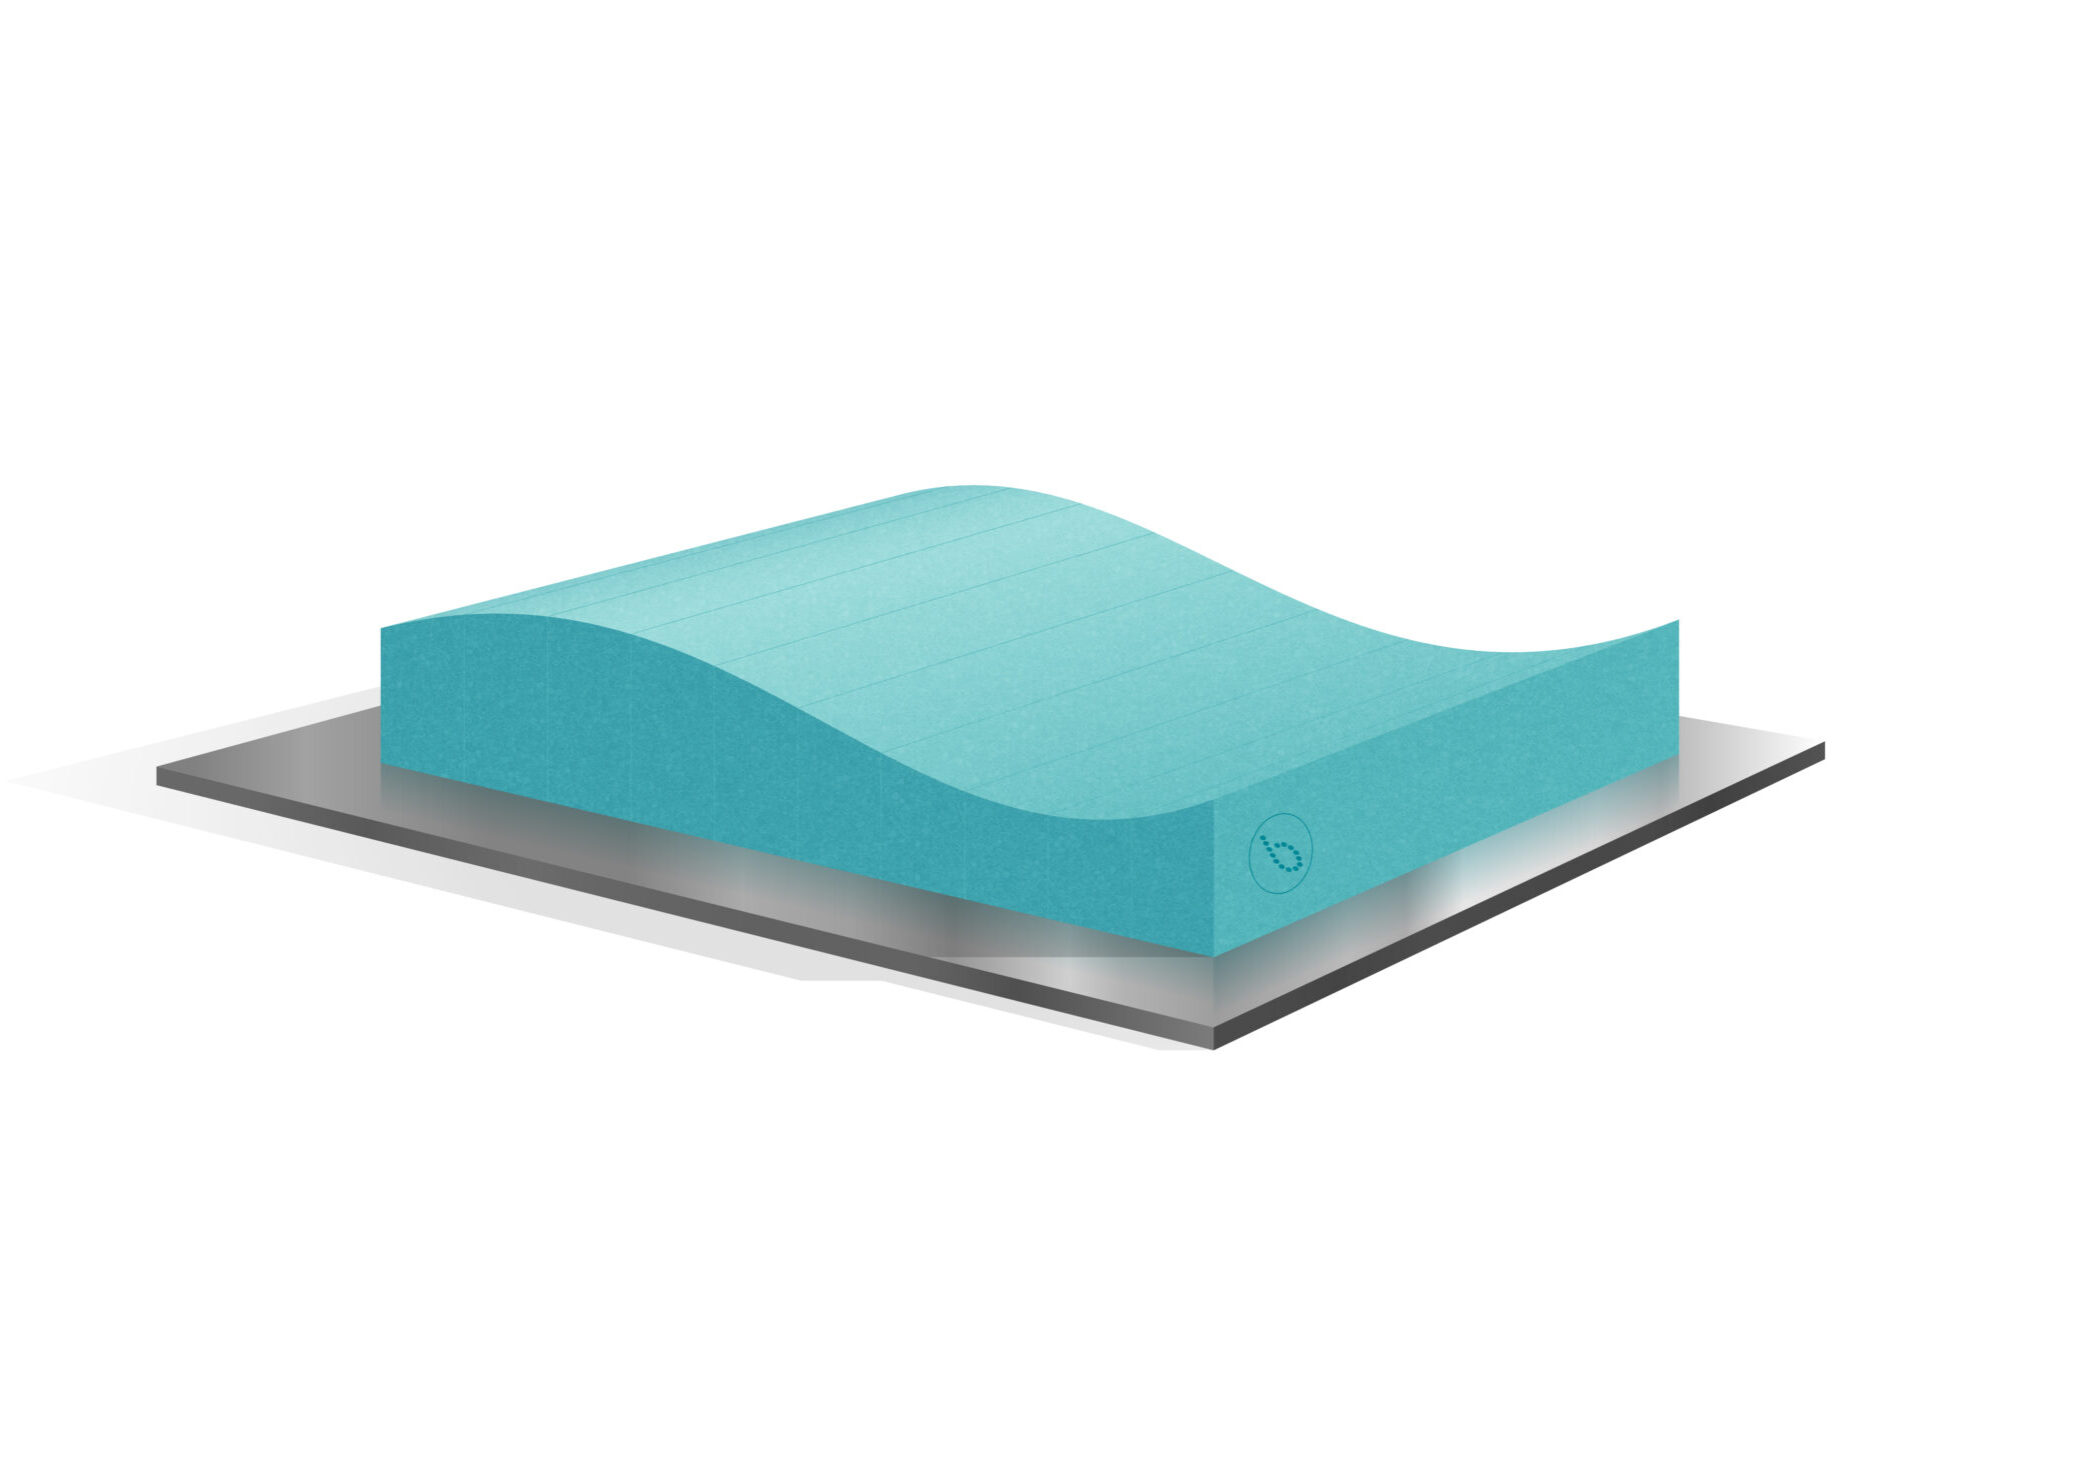
Selecting the right tooling board material for your project requirements is crucial, as well as the correct number of boards.
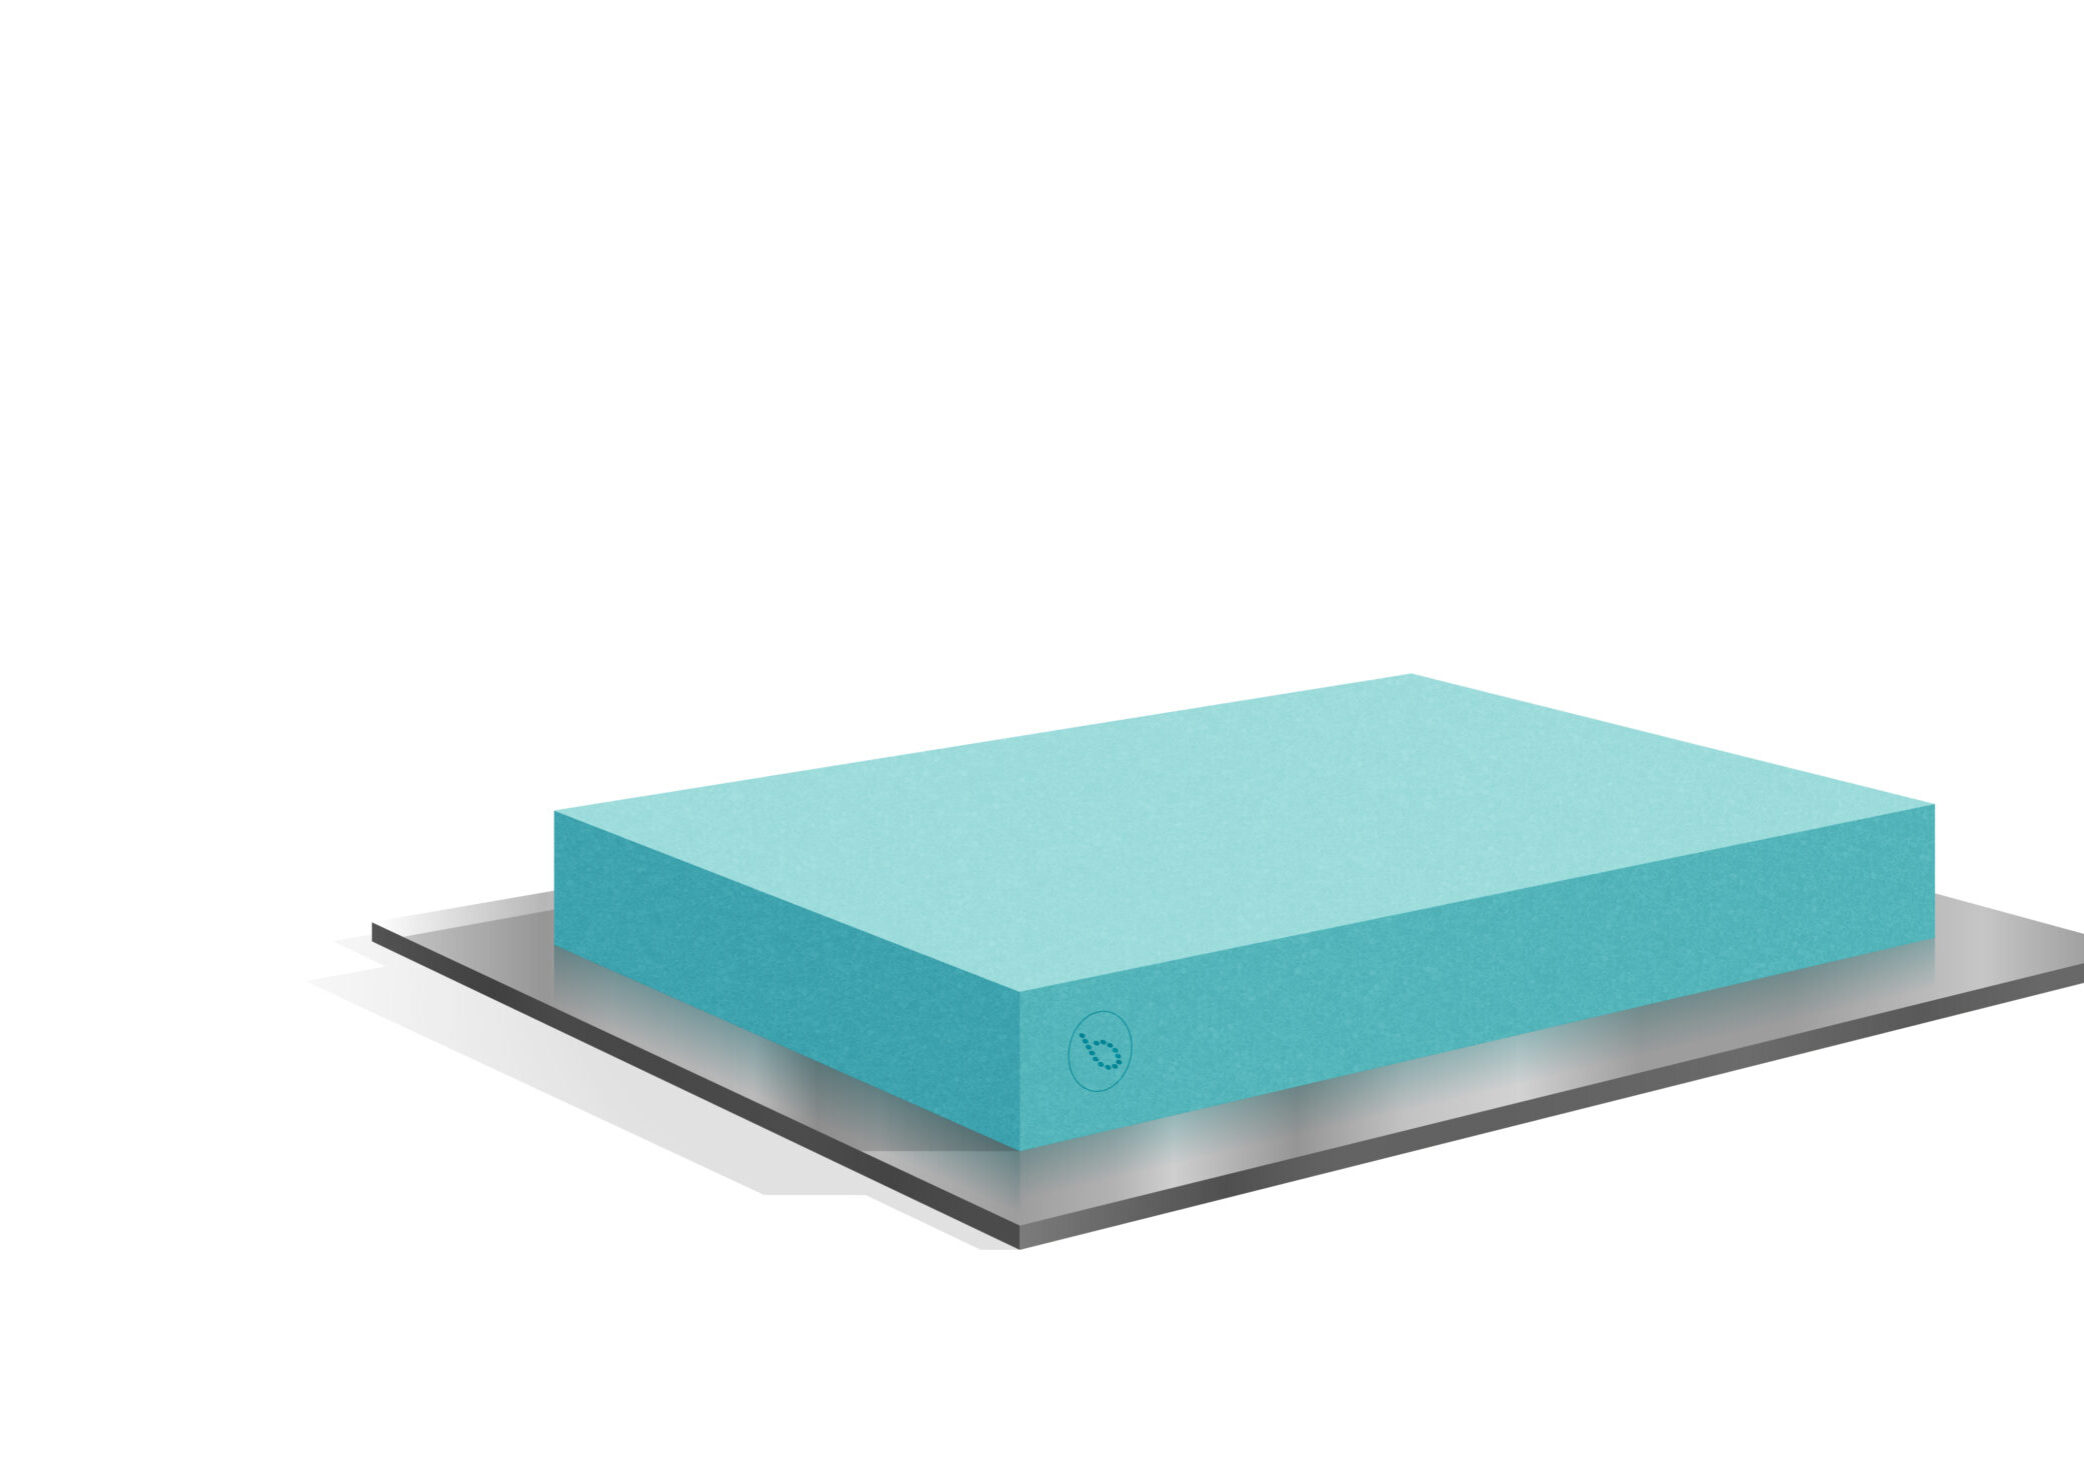
Step two - cutting your board
Our tooling boards can be cut width ways on a band saw to create equal-sized sections.
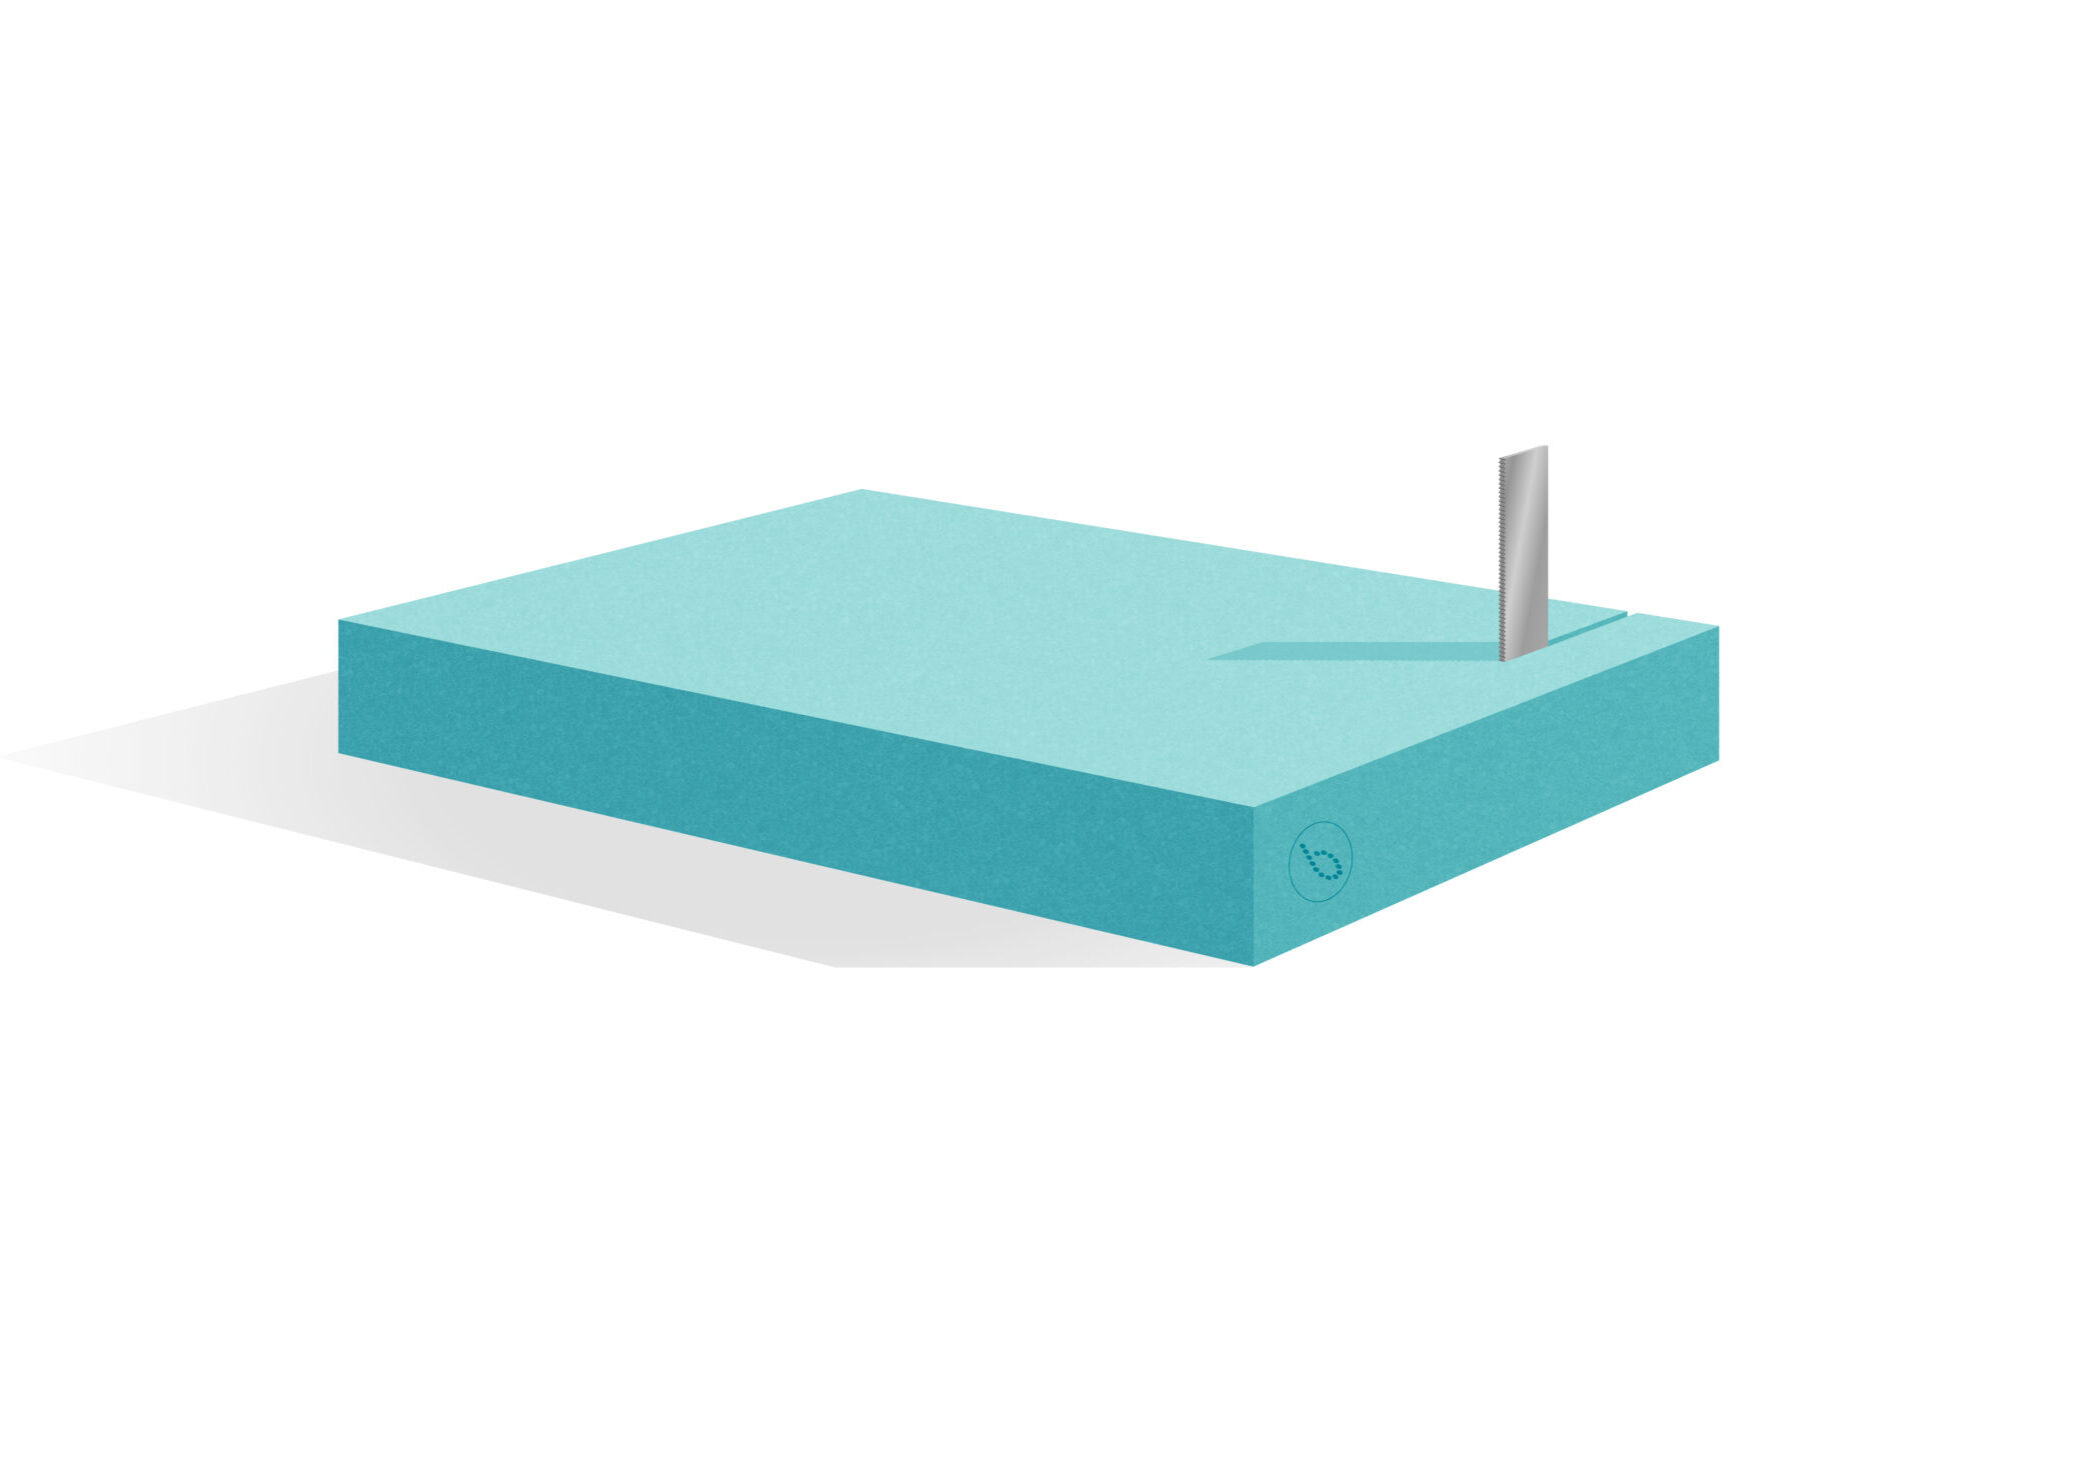
Step three - Bonding the sections
Bond the sections back together using our recommended
compatible adhesive to create a larger block of material.
It is important to fully mix the adhesive to the ratio stated
on the technical datasheet. The adhesive should be applied to pre-prepared surfaces following our bonding guidelines.
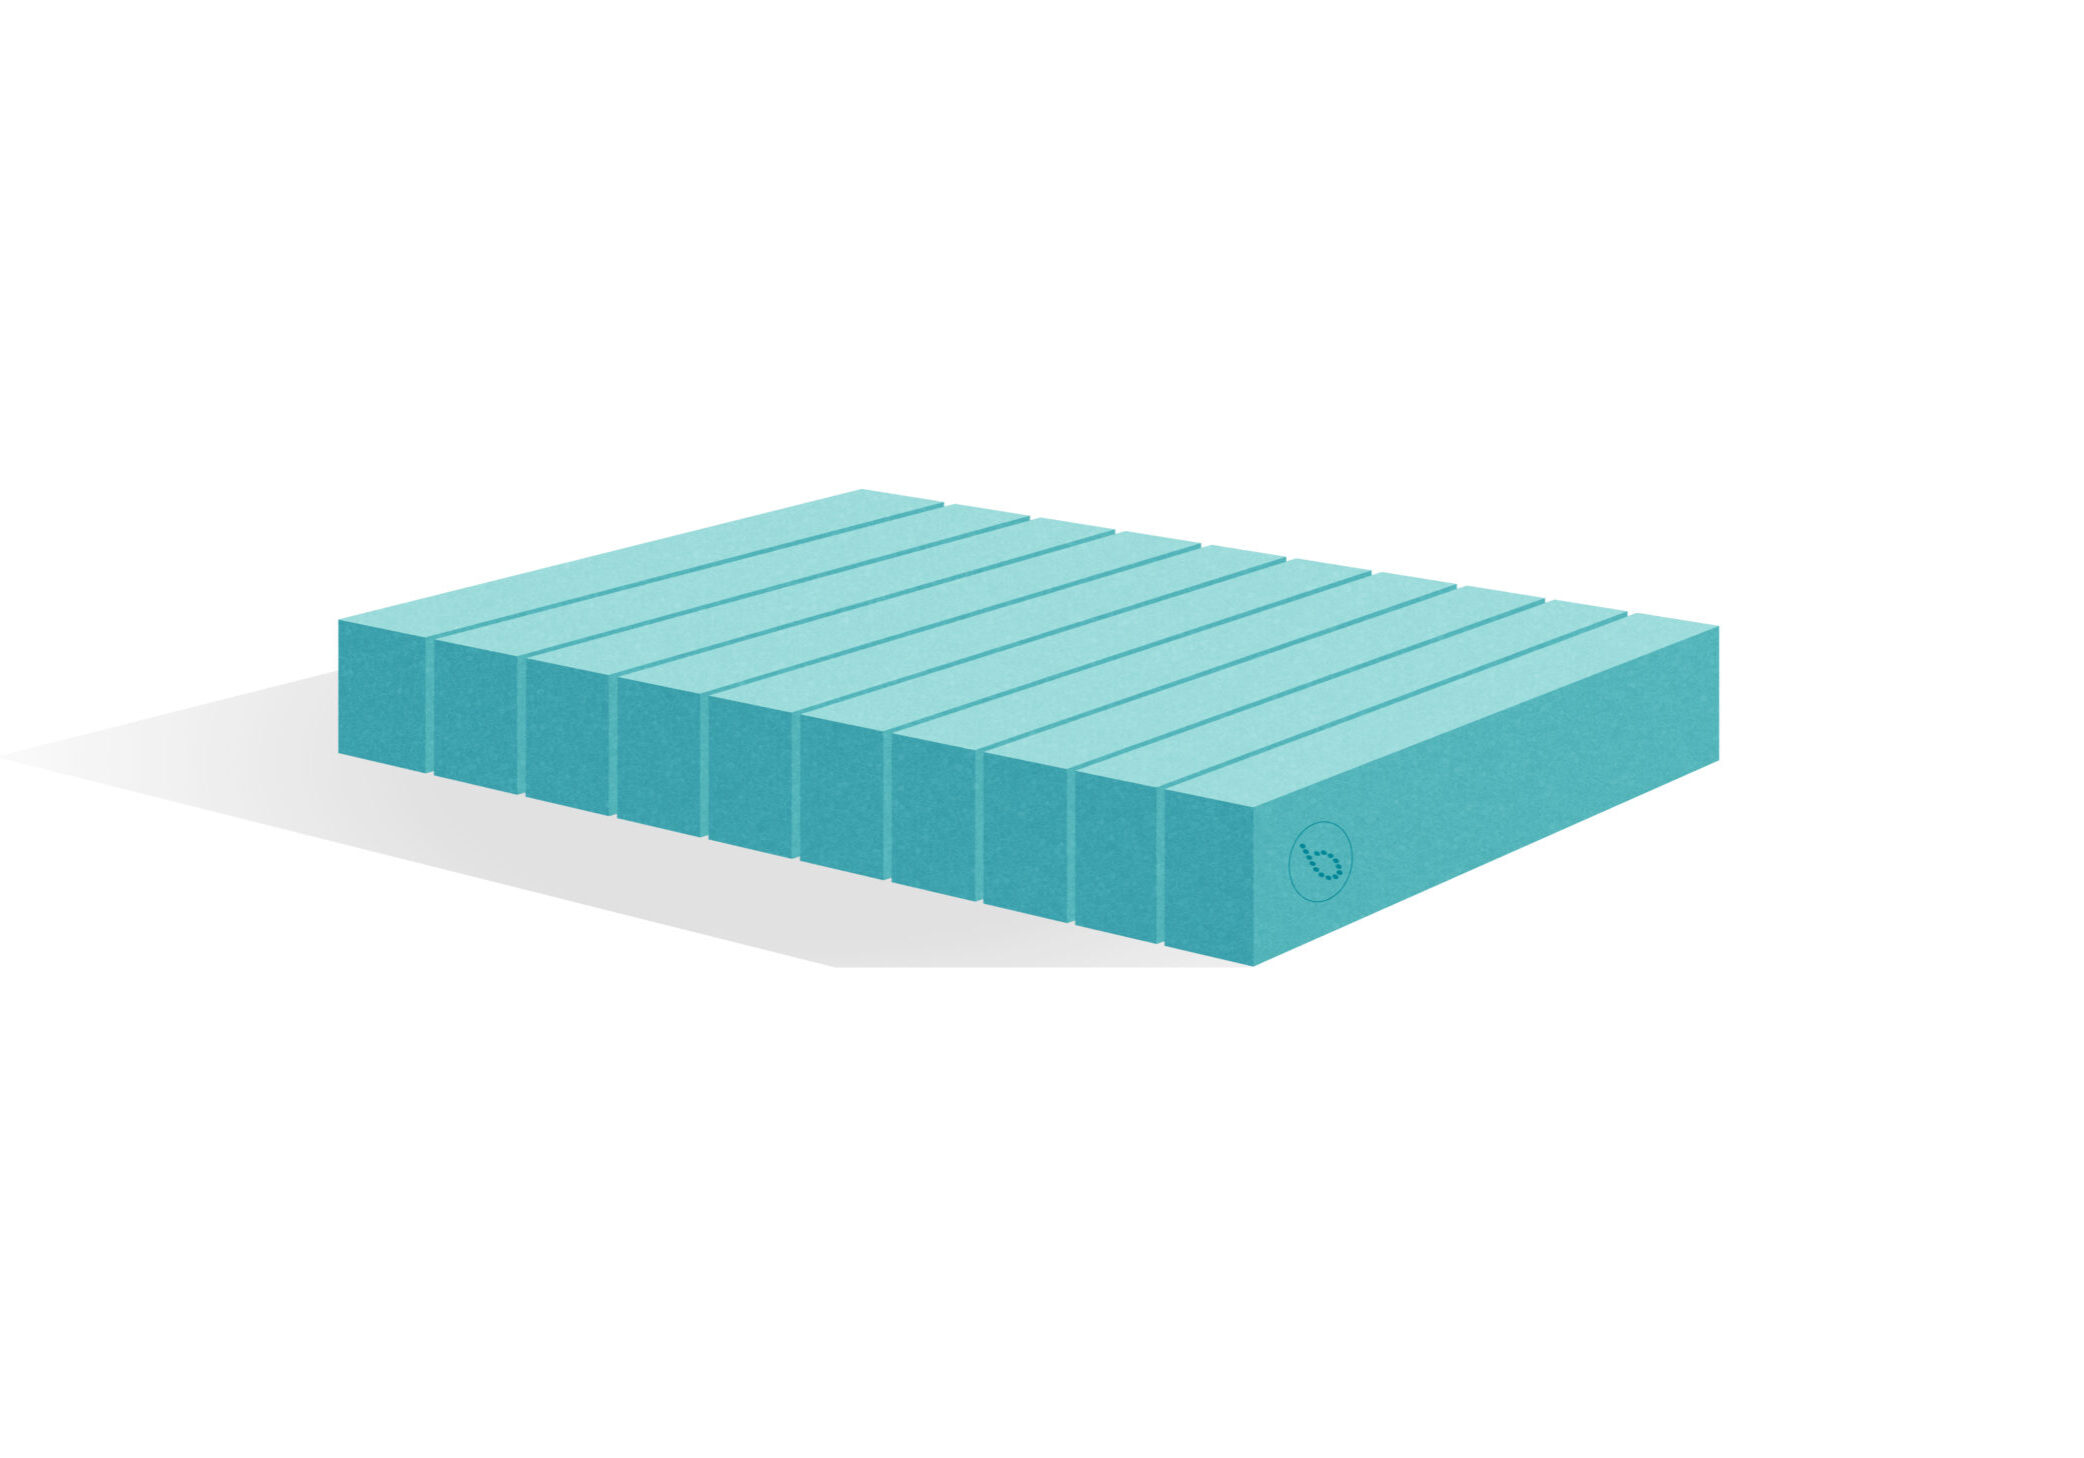
Step four - Clamping
Sections can be held in position by light clamping to ensure equal pressure throughout the bonded block. Over-clamping will cause the adhesive to spread unevenly.
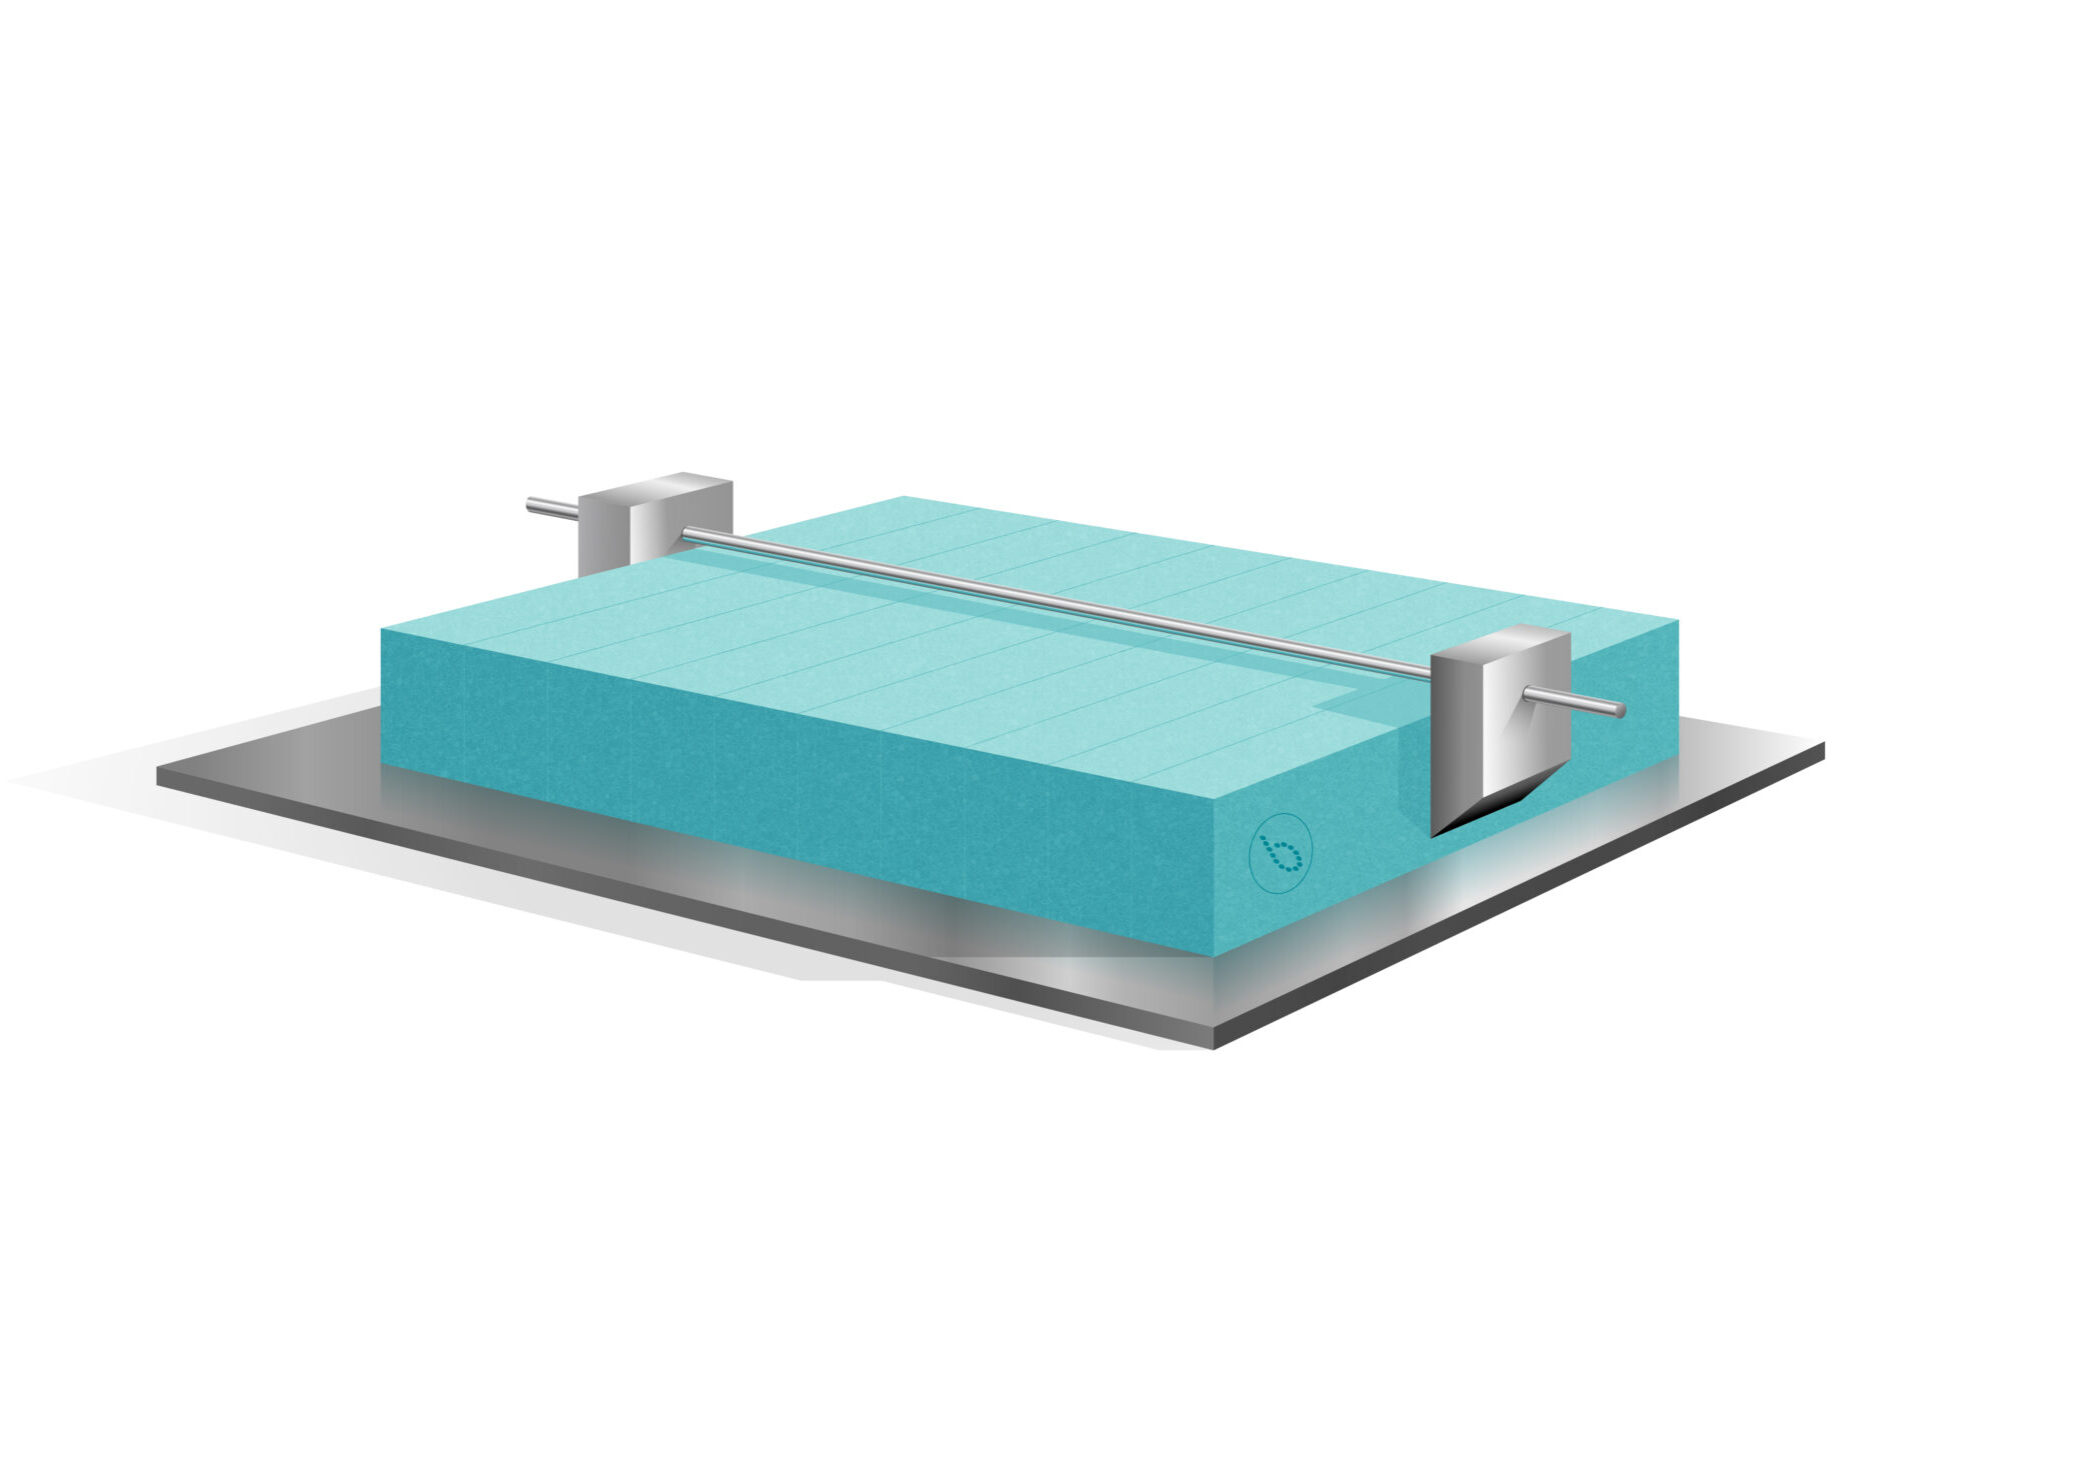
Step five - support frame
The block should be adequately supported to avoid any
excessive gravity-induced stresses.
For large patterns, we recommended that a suitable support frame be used to minimise deflections and ease handling.
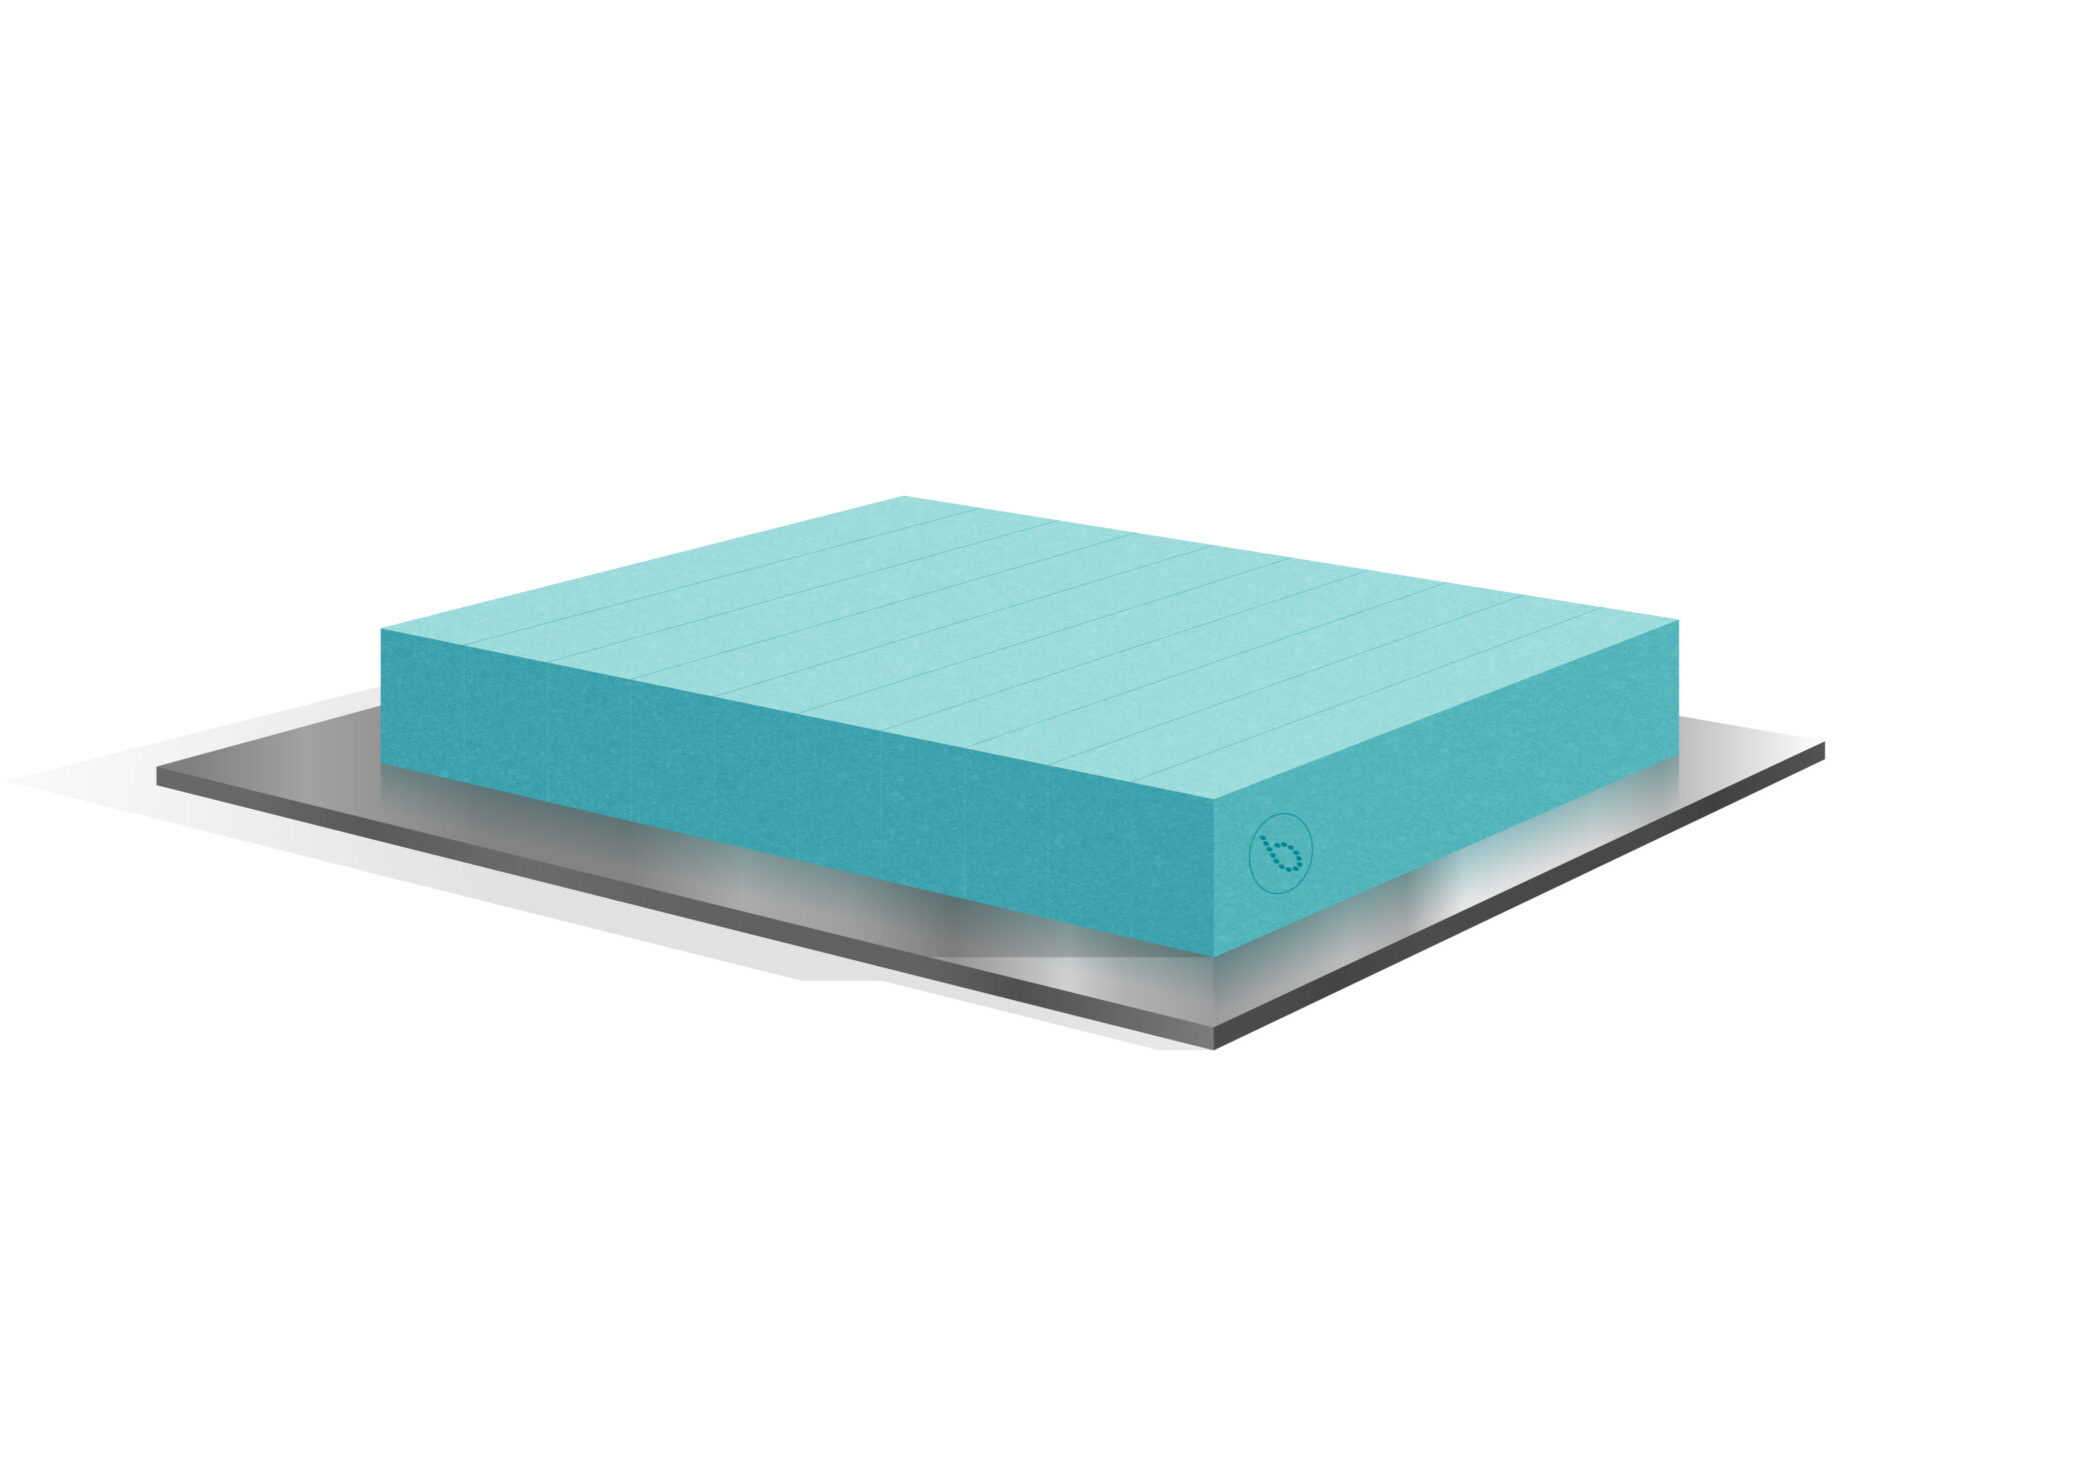
Step six - relieving stress in the board
To relieve stress in the tooling board and prevent twisting during CNC machining, we recommend first machining the front-face of the pattern to within 10 mm.
Turning the pattern over and skimming the back-face flat, then turning the pattern over again to finish the CNC machining, removing any supports and the remaining 10 mm.
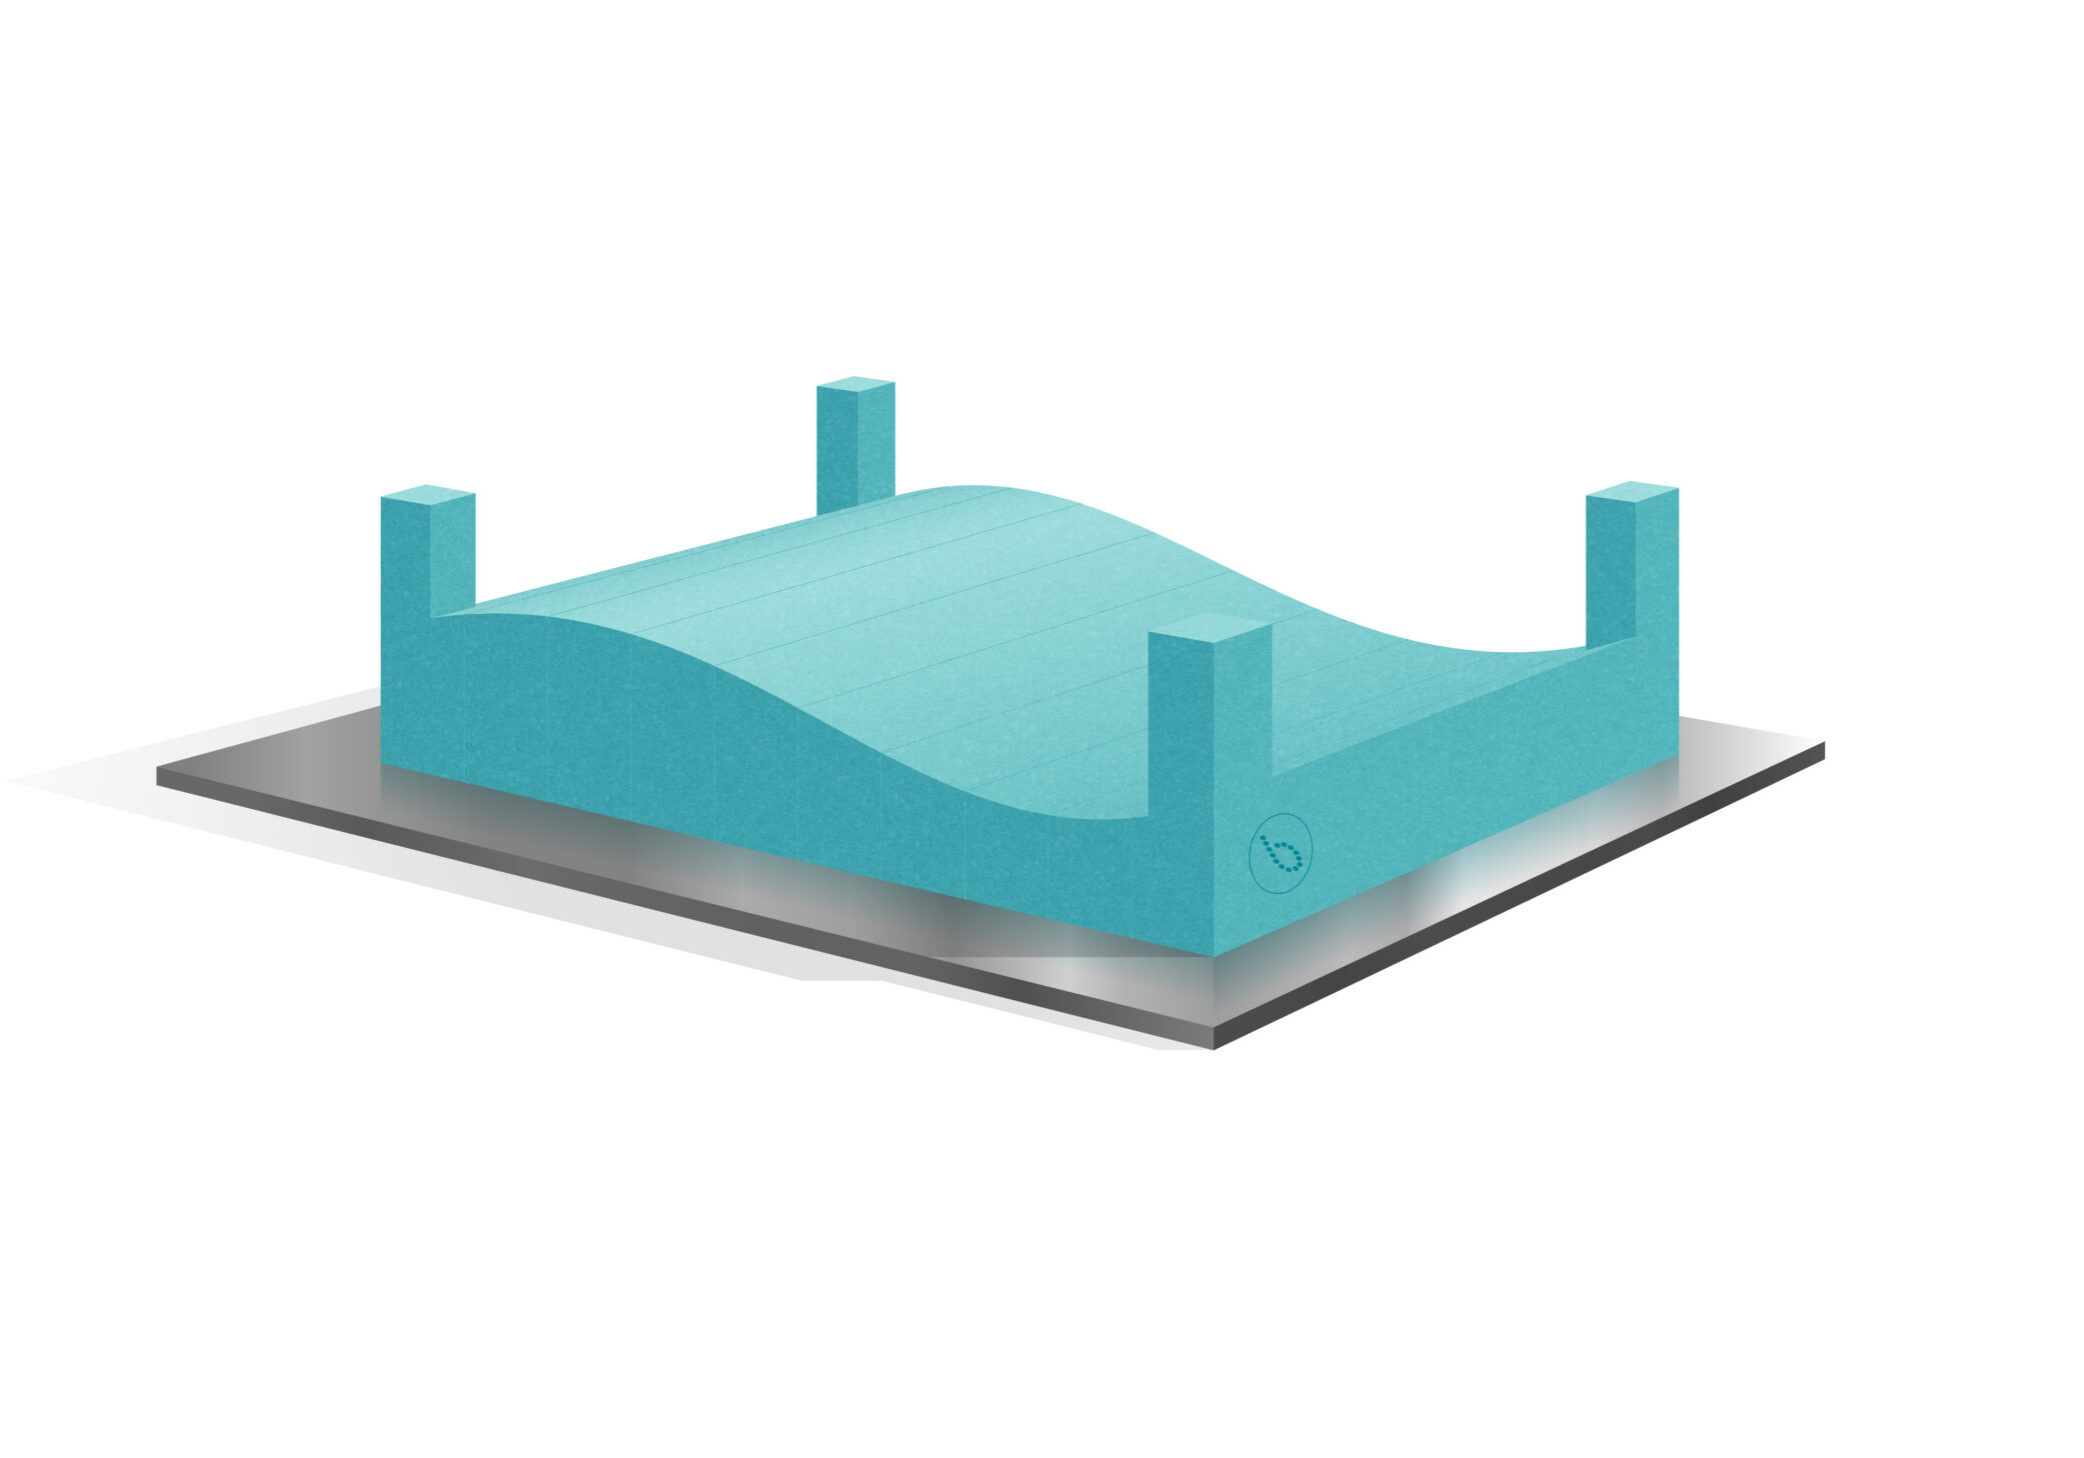
Step seven - cnc machining
Using CAD drawings, the block of material can be CNC machined to the required shape to produce a highly-accurate mould or pattern.
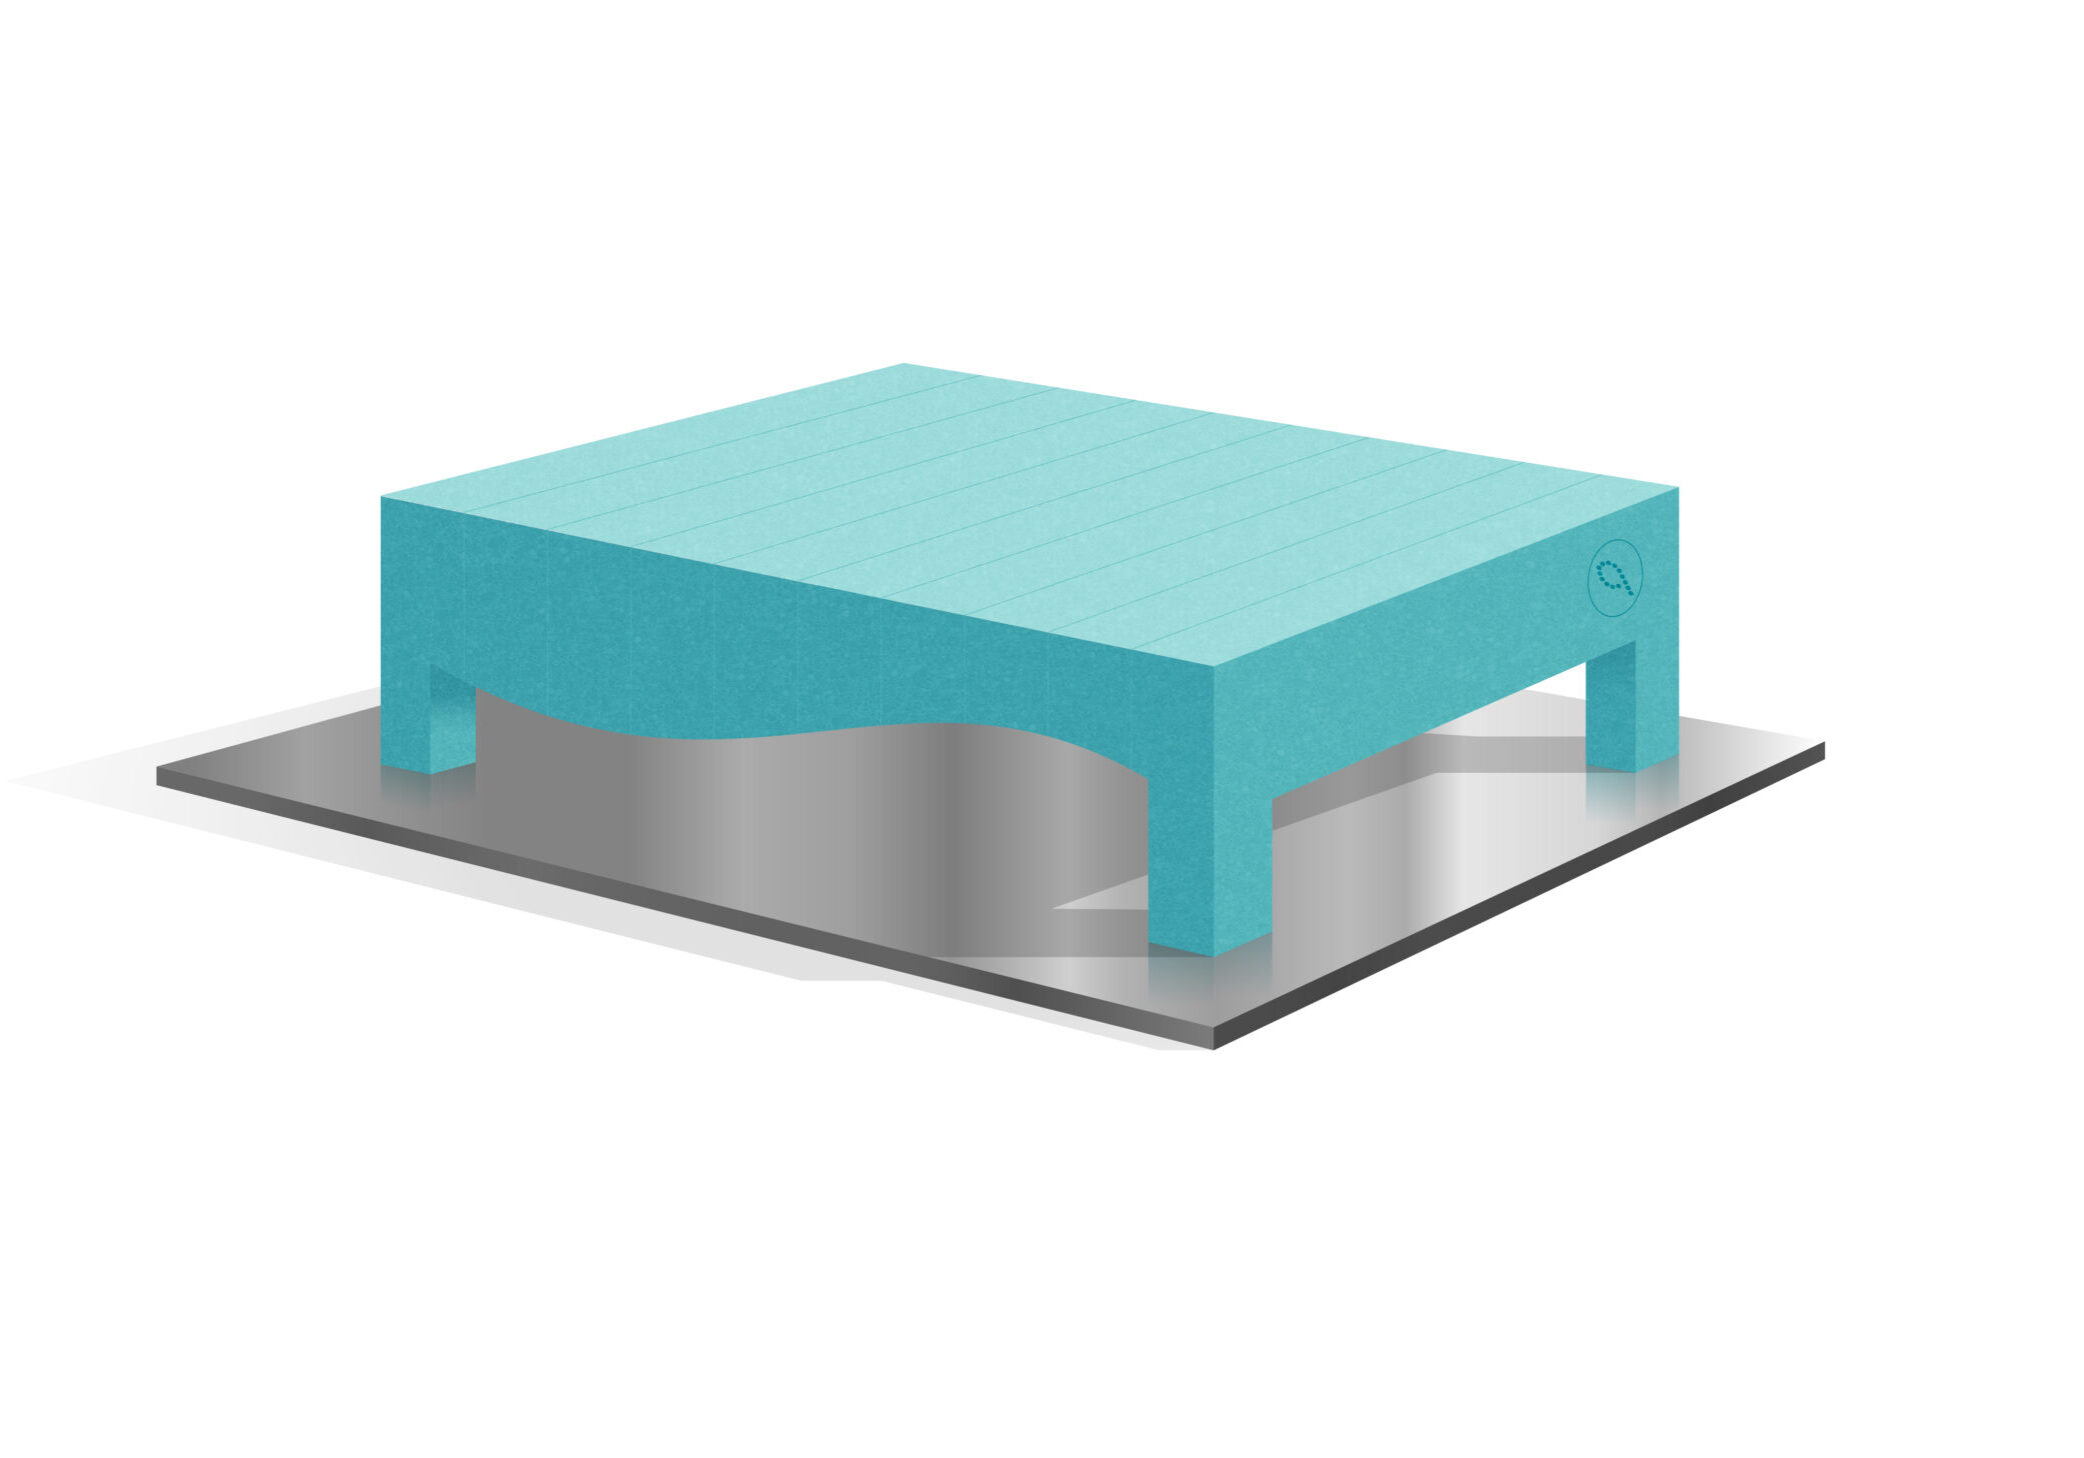
step eight - finishing and sealing
The pattern or mould can now be finished and sealed to achieve a smooth surface. A release agent is then applied to the surface ready for carbon fibre or another composite layup.
Depending on the material used, the mould can be used as the master model or the tool for direct-to-part manufacturing and short production runs.
