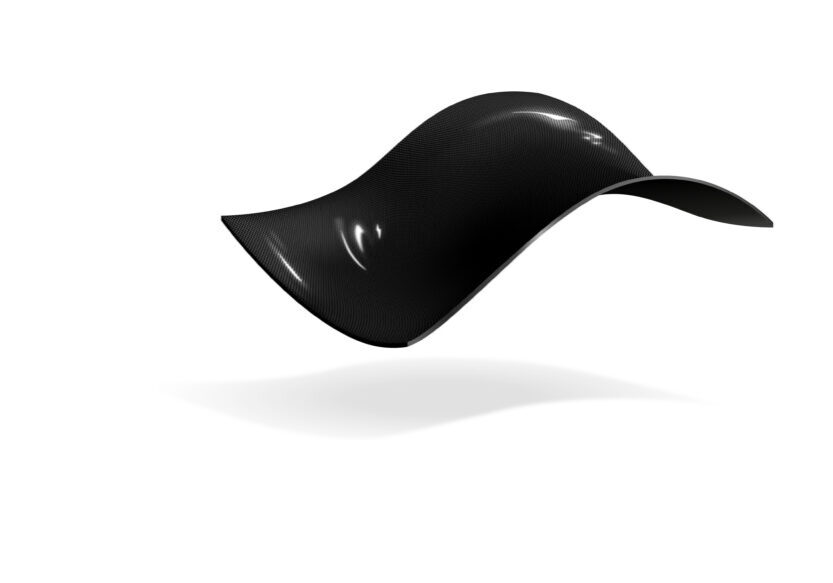
Step one - select your tooling board
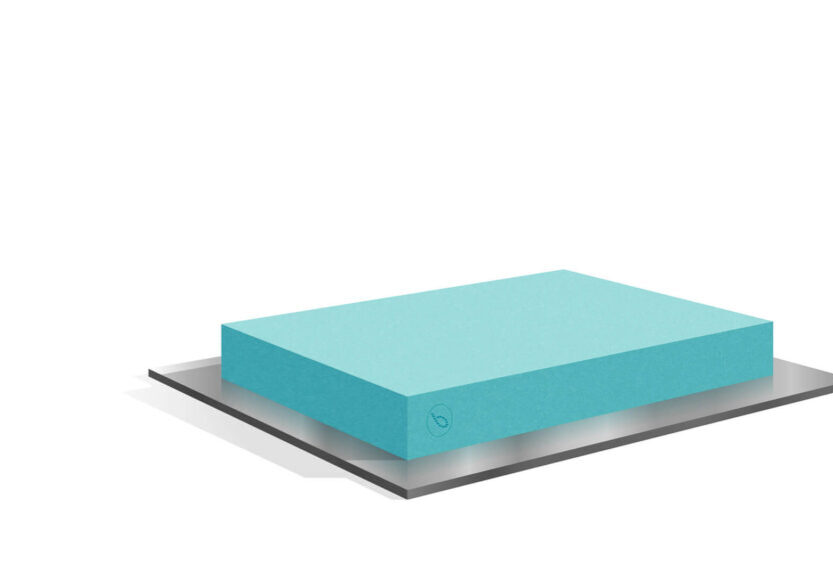
Selecting the right tooling board material for your project requirements is crucial, as well as the correct number of boards.
Step two - blocking up
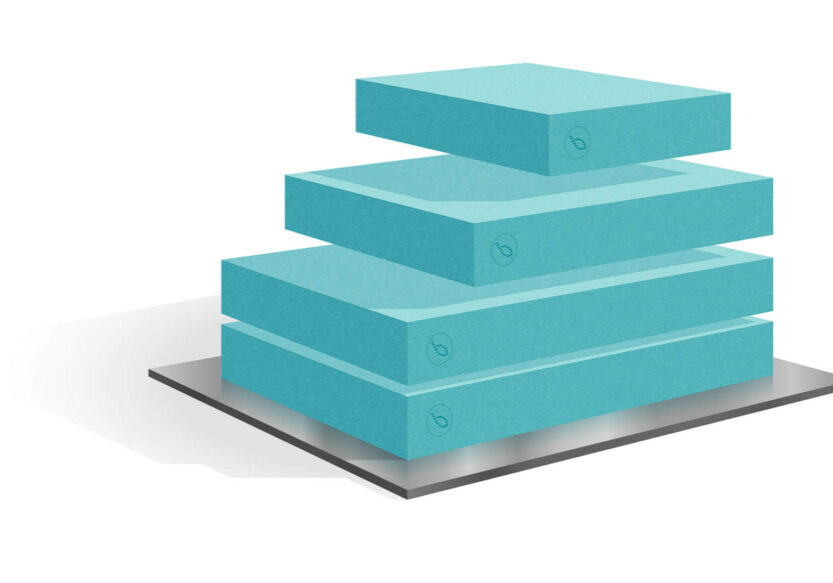
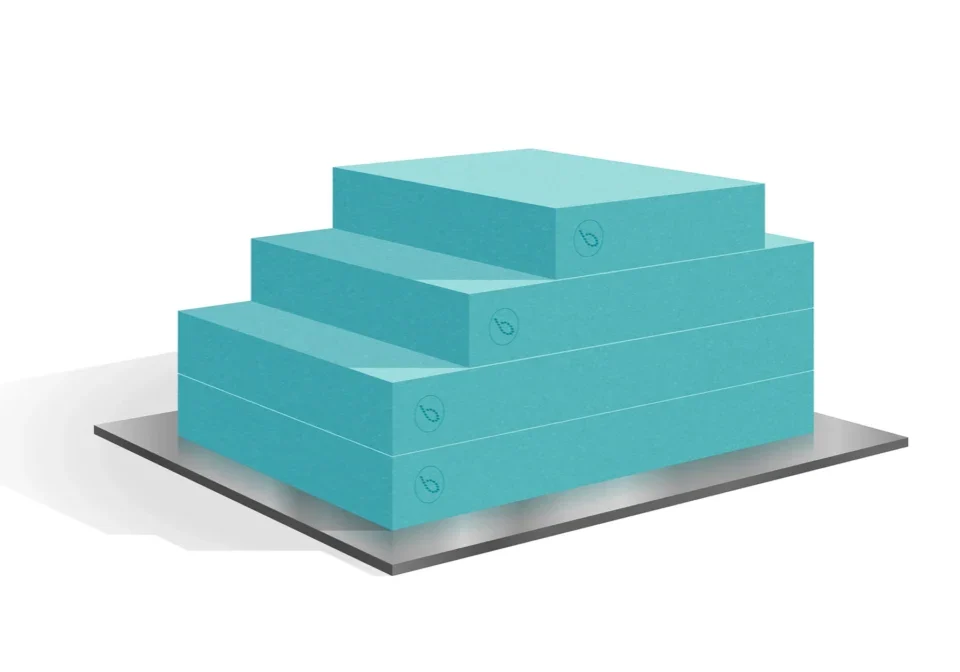
Our tooling boards can be bonded together using compatible adhesives to create a larger block of material.
Step three - cnc machining
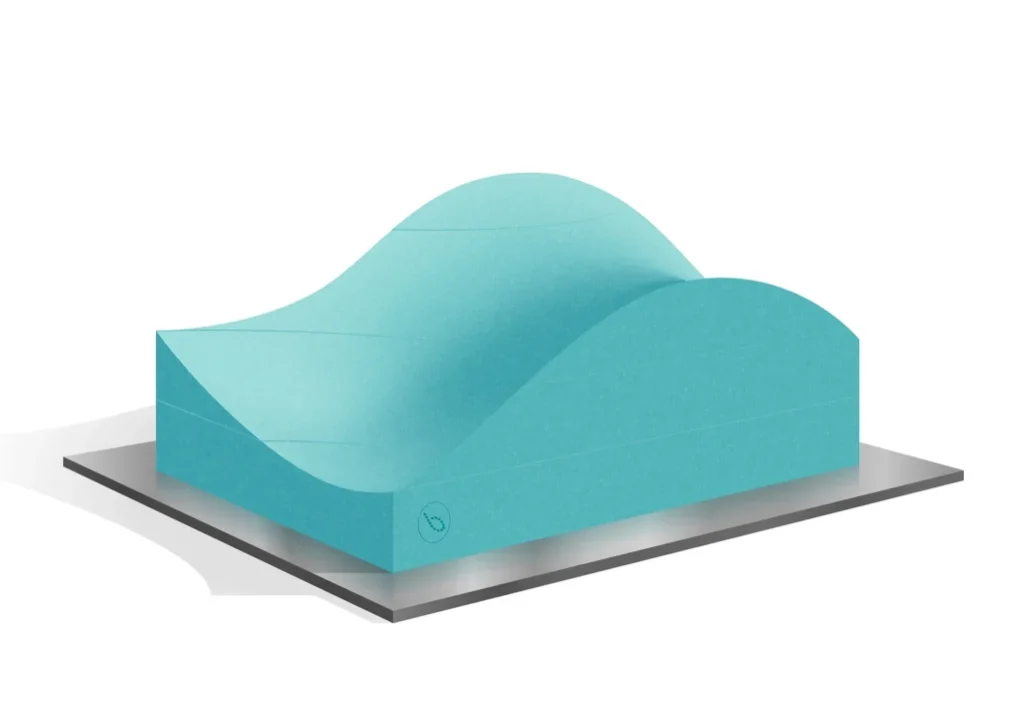
Using CAD drawings, the block of material can be CNC machined to the required shape to produce a highly accurate mould or pattern.
Step four - preparing the surface
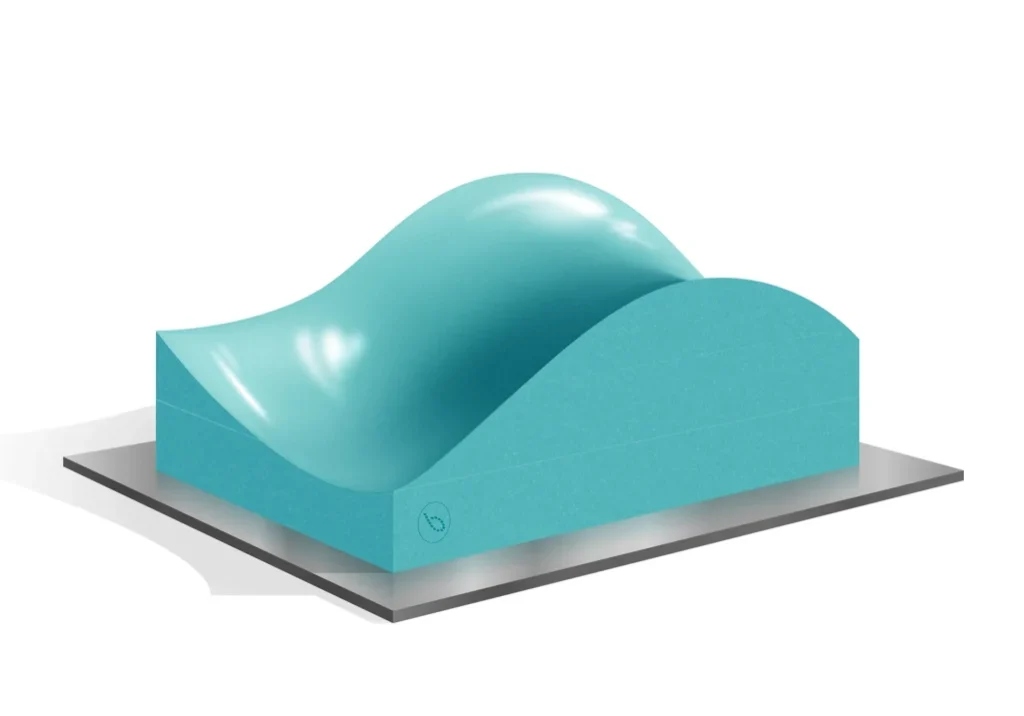
The pattern or mould can be finished and sealed to achieve a smooth surface. A release agent is then applied to the surface ready for carbon fibre or other composite material lay up.
Depending on the material used, the mould can be used
as the master model or the tool for direct to part
manufacturing and short production runs.
Step five - create your pattern / mould
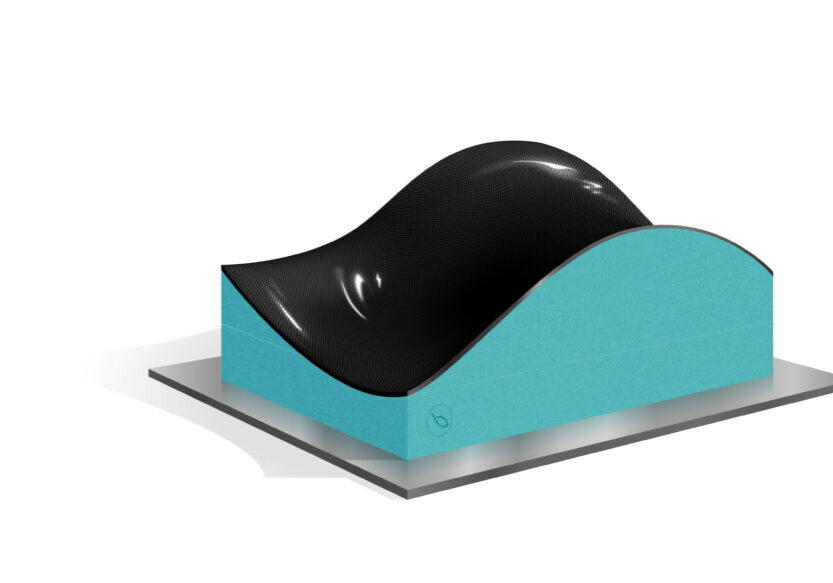
Carbon fibre or other lightweight composite materials are layed up over the mould, and can be cured either in or out of autoclave depending on your chosen process and end application.
Step six - Tool de-moulded, machined and finished
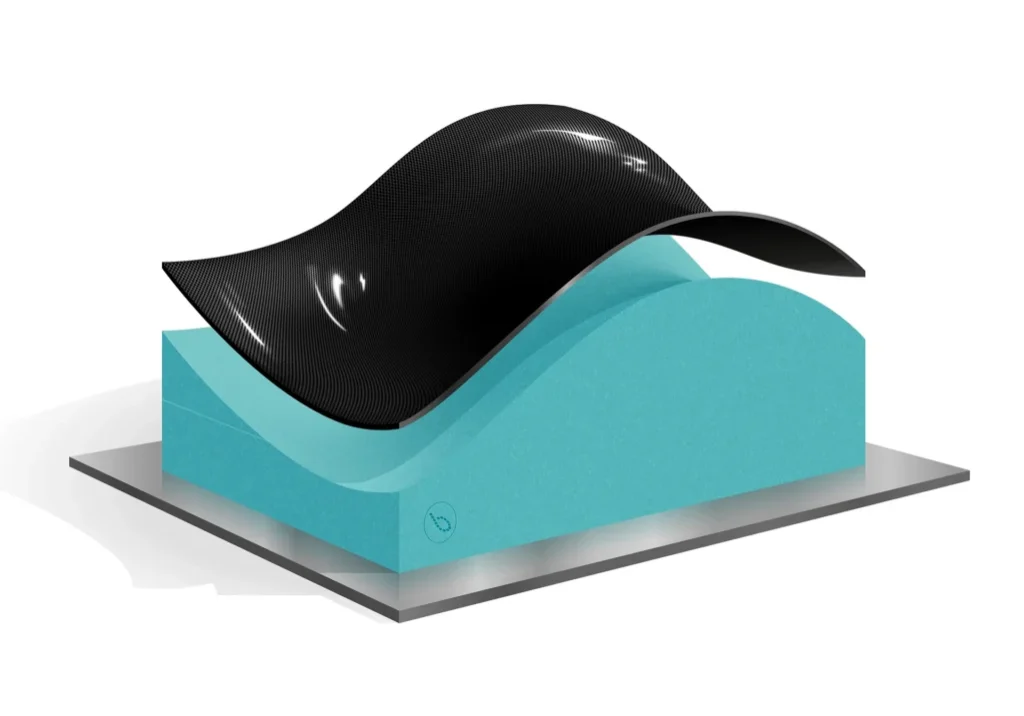
Once cured, the carbon fibre or composite tool can
be de-moulded, sealed and finished ready for use.
finished tool or part
